Cultured Bite Has Moved!

Hello everyone! For all those who have subscribed to my blog here: you might or might not be wondering why I haven’t blogged in a while.

Well, firstly, in September I moved the blog. It is now located at:

Home

Please have a visit and subscribe!

Secondly, right after I moved my hosting I became very ill and was essentially dying and not knowing why. I tried to not make it dramatic at the time but now that I’ve figured it out and am on the mend I realize how freaked out I was. You can read the story on my new blog. Please visit and subscribe! 🥰😂

Thirdly, my near death experience meant I could no longer eat vegetables and I was surviving on bone broth and organ meats. Yes, you read that right. Me, the nearly vegan vegetable lover was having hugely painful inflammatory reactions to ALL vegetables… cultured or not. It was not fun. There was a lot of gagging involved. But I don’t regret going carnivore for a period because it saved my life.

NOW! I am regaining health and testing new vegetables every couple weeks and am having so much success! So I will be posting more recipes from here on out. But not here. They will be available at http://www.culturedbite.com

Please visit and subscribe! 🙏🏼💕

That’s all for now! I would love t hear from you all… THERE!

Here’s to living, love, and getting through the Coronavirus madness. Together. ❤️🙌🏼🥳

Brenna May

http://www.culturedbite.com

🙏🏼😝

(more…)

Preserved Lemons (Keto, Paleo, Cultured, Vegan, AIP)

It has been a wee while since my last post. We have had a couple emergency room visits in the past week and a half and are adjusting to some new physical limitations. Adjusting to a Hashimoto’s life has been a challenge to say the least and my foods have become increasingly limited. I may not have much to blog about personally when it comes to food and recipes, but will continue to post what I come up with as well as including recipes for my family. If folks are interested in my “older” recipes, many of which are einkorn based, let me know and I’ll do my best. In the meantime I will share a bit about my food and health journey here and there. I am currently eating a diet that falls somewhere between mostly piscavore and pescatarian… which is not terribly creative or interesting and makes me all the more thankful that I can still eat avocados! My body can only handle a small amount of select cooked veggies but still thankfully can process some of my longer ferments like cole slaw (I just realized I haven’t posted that!) and aip kimchi. In addition, this is possibly my last wordpress post. I will still be blogging but probably less often and likely on a simpler user interface. Stay tuned.

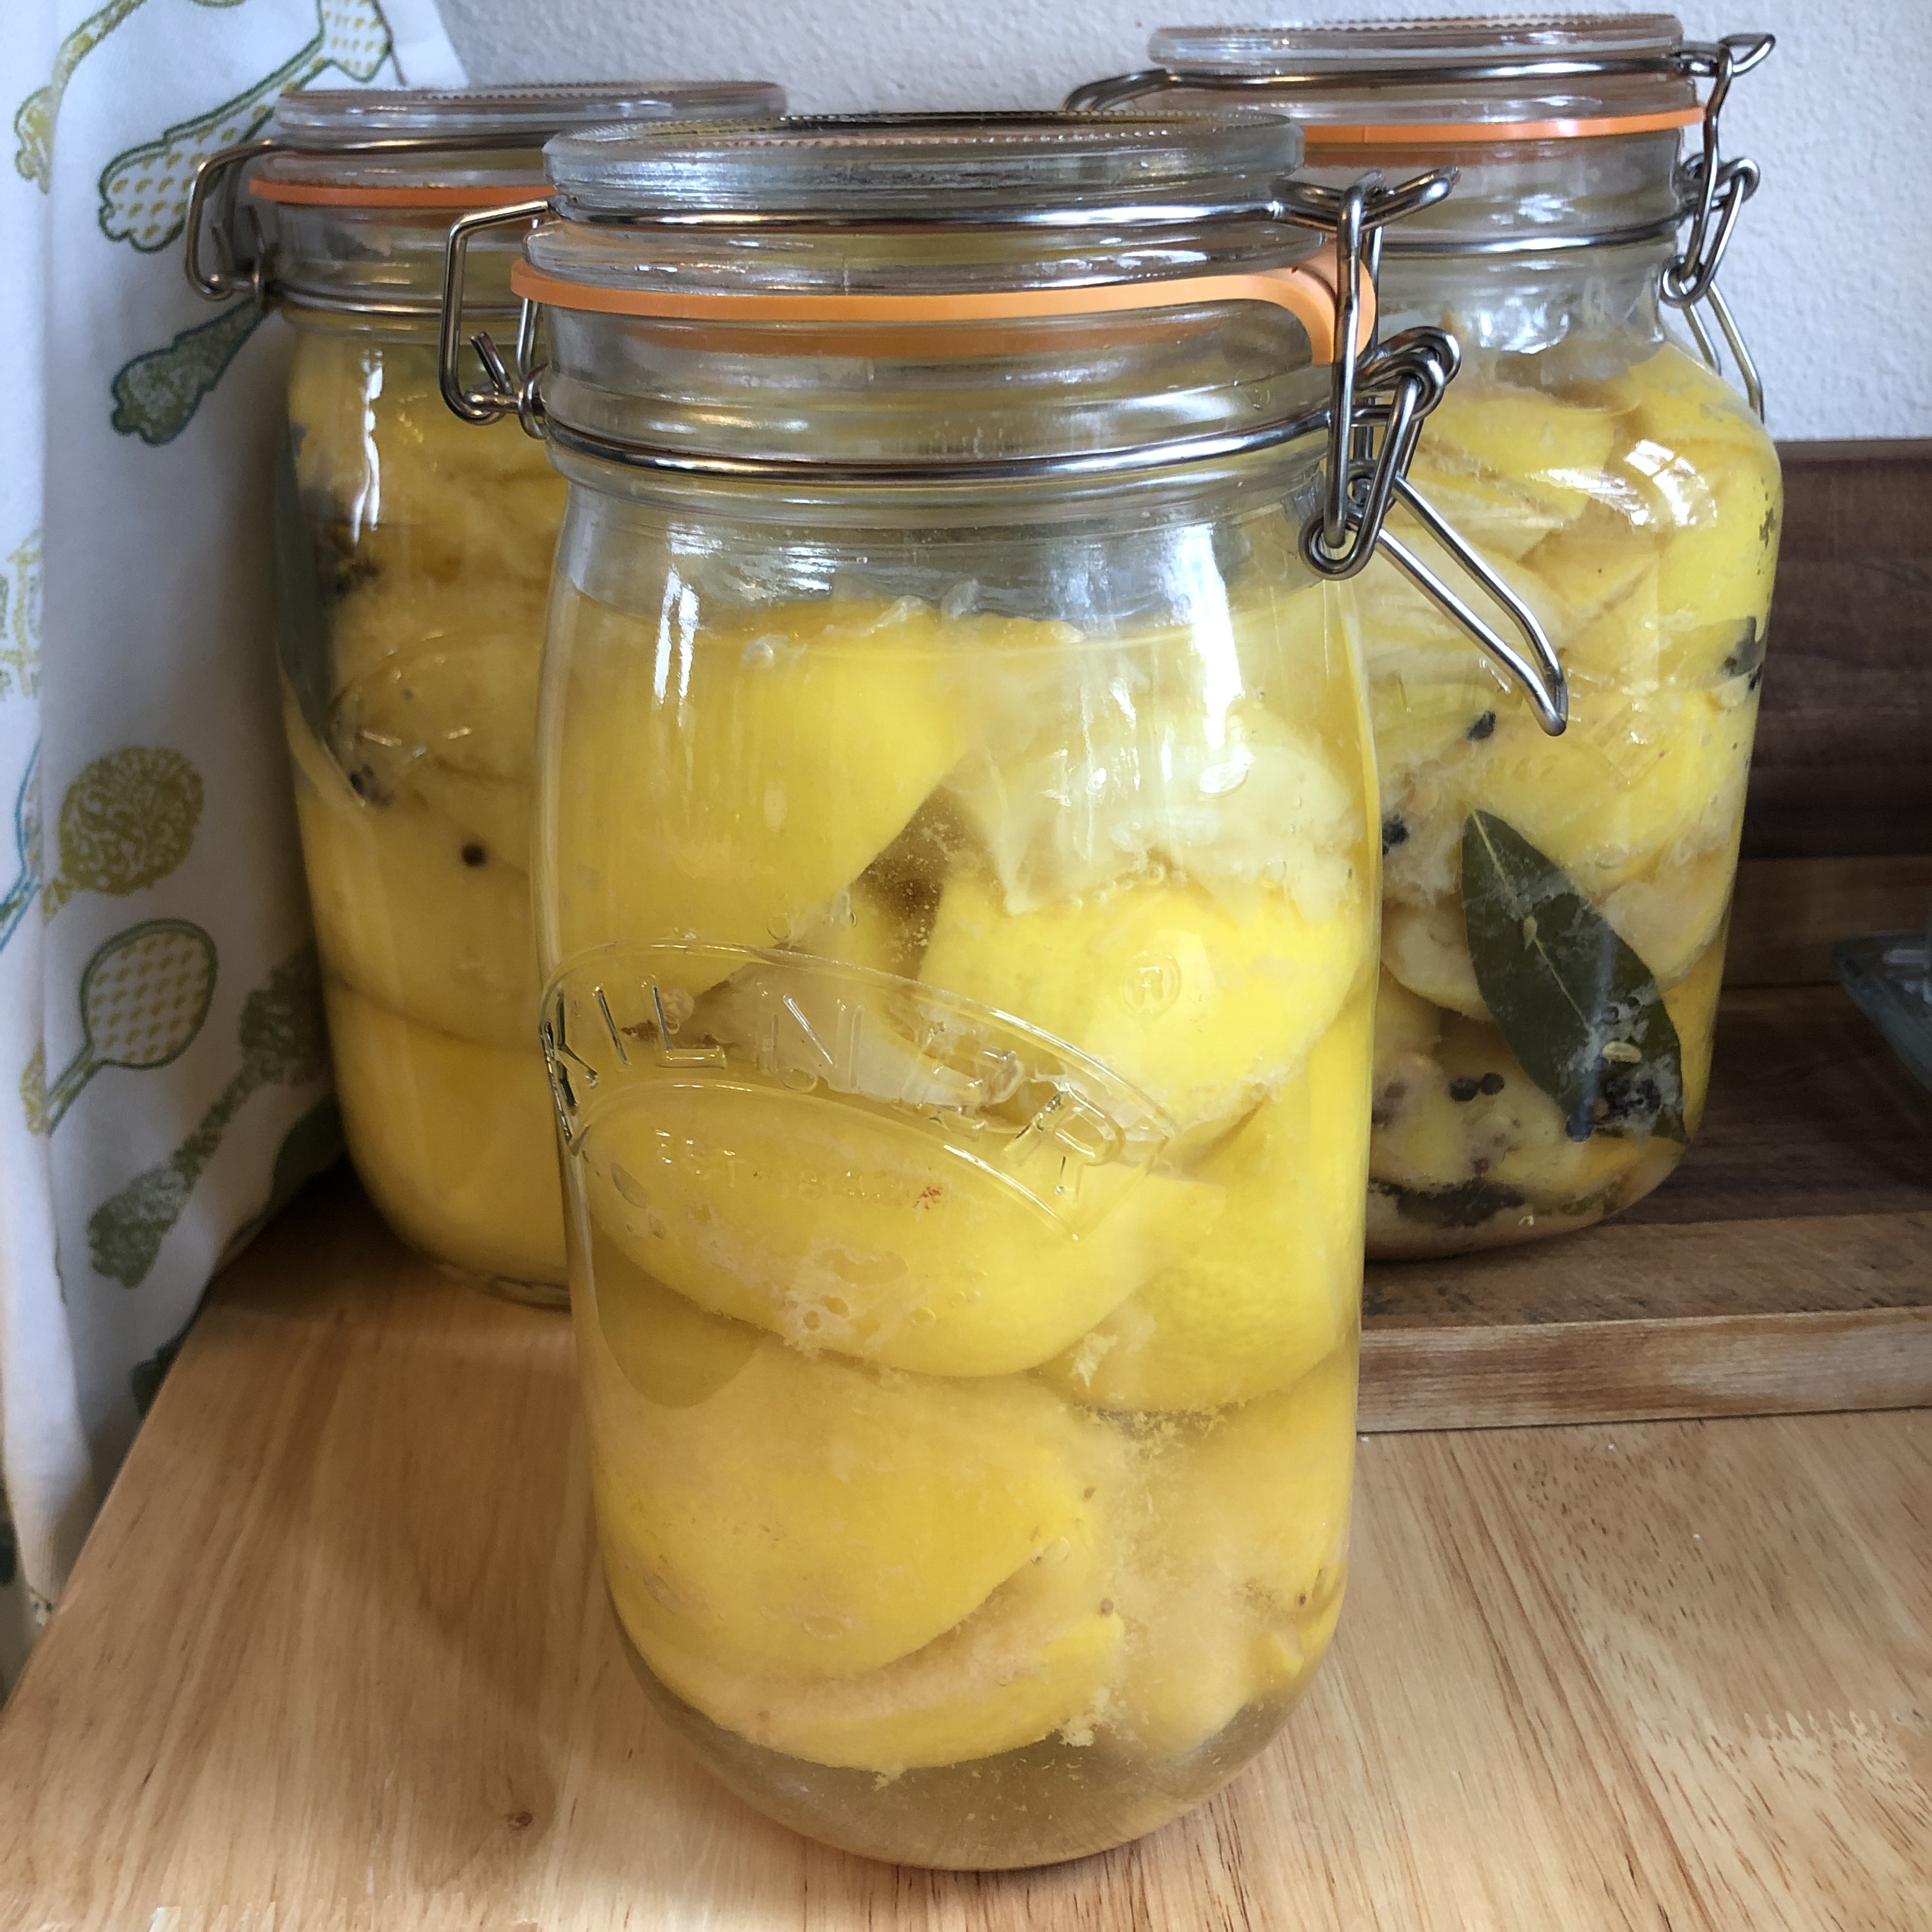
Hurrah! I can still eat lemons! The first time I experienced preserved lemons was during one of my trips to Morocco in my young explorer days. They add depth to dishes and are eaten skins and all. It had been quite a while but I recently had dinner with my brother and his wife and she had been busy stuffing these into jars. So Maddy, you instigated this post!

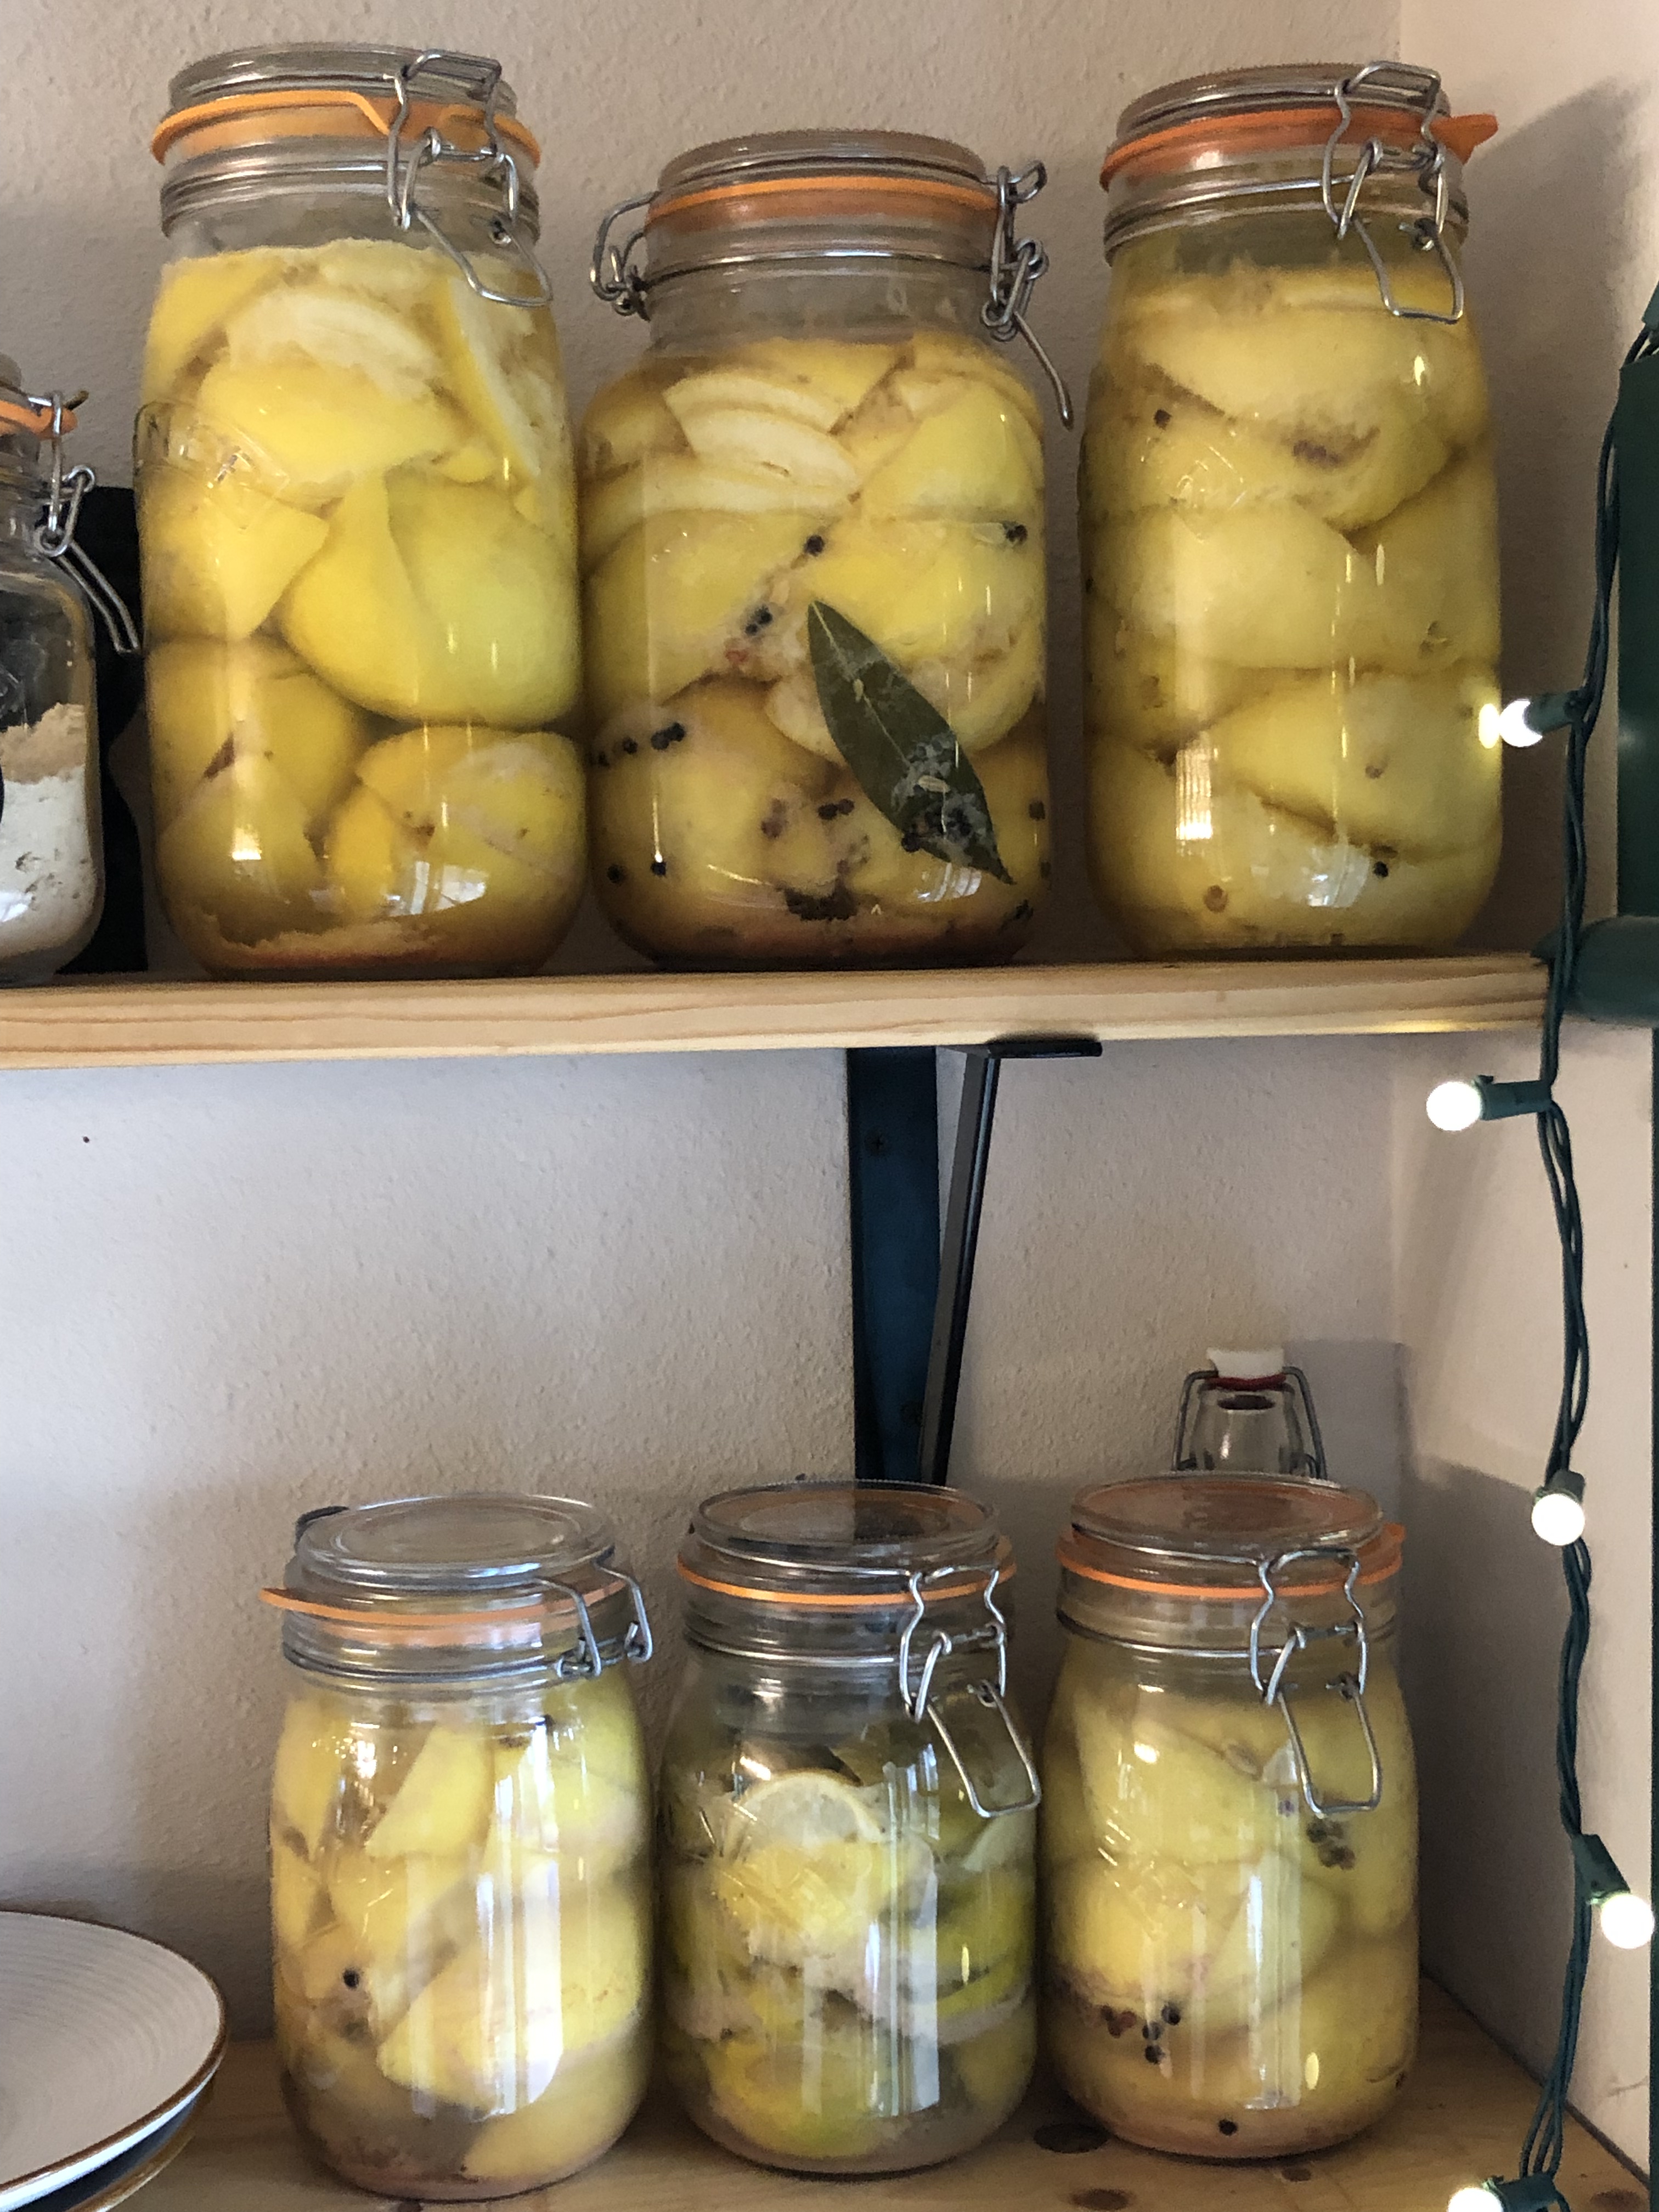
Fermenting takes the bitterness out of many vegetables and it is true of some fruits as well. The flavor profile is a bit like a not so sweet lemon sour patch kid. They are so tasty and addictive! Most people rinse the salt off of them before eating but as I can blame my E.R. trip on low sodium levels I have been eating them simply cut up over my fish and avocados. I now have a shelf filled with them for the winter thanks to a sale at whole foods. Woot. Woot.

Ingredients:

  • 6-10 organic lemons, washed (varies with the size of your jar)
  • Himalayan pink salt
  • French rolling pin or tamper for pressing down lemons
  • Swing top glass jar (1-2 liters)
  • Bay leaves (optional)
  • Peppercorns (optional)
  • Cinnamon sticks (optional)

Method:

  1. Sanitize your jar and fermenting weight in the oven at 180 for 3-5 minutes.
  2. Put a tablespoon of pink salt in the bottom of your jar.
  3. Place the lemon nose up and stem down on a cutting board and slice down from the top, stopping about 1/2 inch from the bottom. Rotate the lemon 90 and slice down again, making a cross or + shape.
  4. Open the lemon slightly and sprinkle salt in the flesh on both sides and then open it the other way and sprinkle with more salt. Place in the jar and press down.
  5. Repeat with each lemon until you get about 1/2 way and press it down until the juices cover the rinds.
  6. Sprinkle a bit more salt as well as your peppercorns and other spices if using. I usually slide the tip of a couple bay leaves and a cinnamon stick into the edge of the jar at this point.
  7. Repeat the slicing and salting until the jar is filled and then press down with your rolling pin again. Add more lemons if needed or squeeze some lemon juice in to cover the top. Press down again until you have about 2″ room at the top.
  8. If needs be you can break them apart to fill the gaps.
  9. Once the liquid covers the lemons, place your fermenting weight in the top and seal the jar.
  10. Write the date on the bottom and leave to ferment for a month!
  11. When you want to use a lemon for a recipe you’ll most likely want to rinse it (the Moroccans do). Use them sliced up in a dish or if you’re one of those crazies like me just eat them chopped up in a salad.
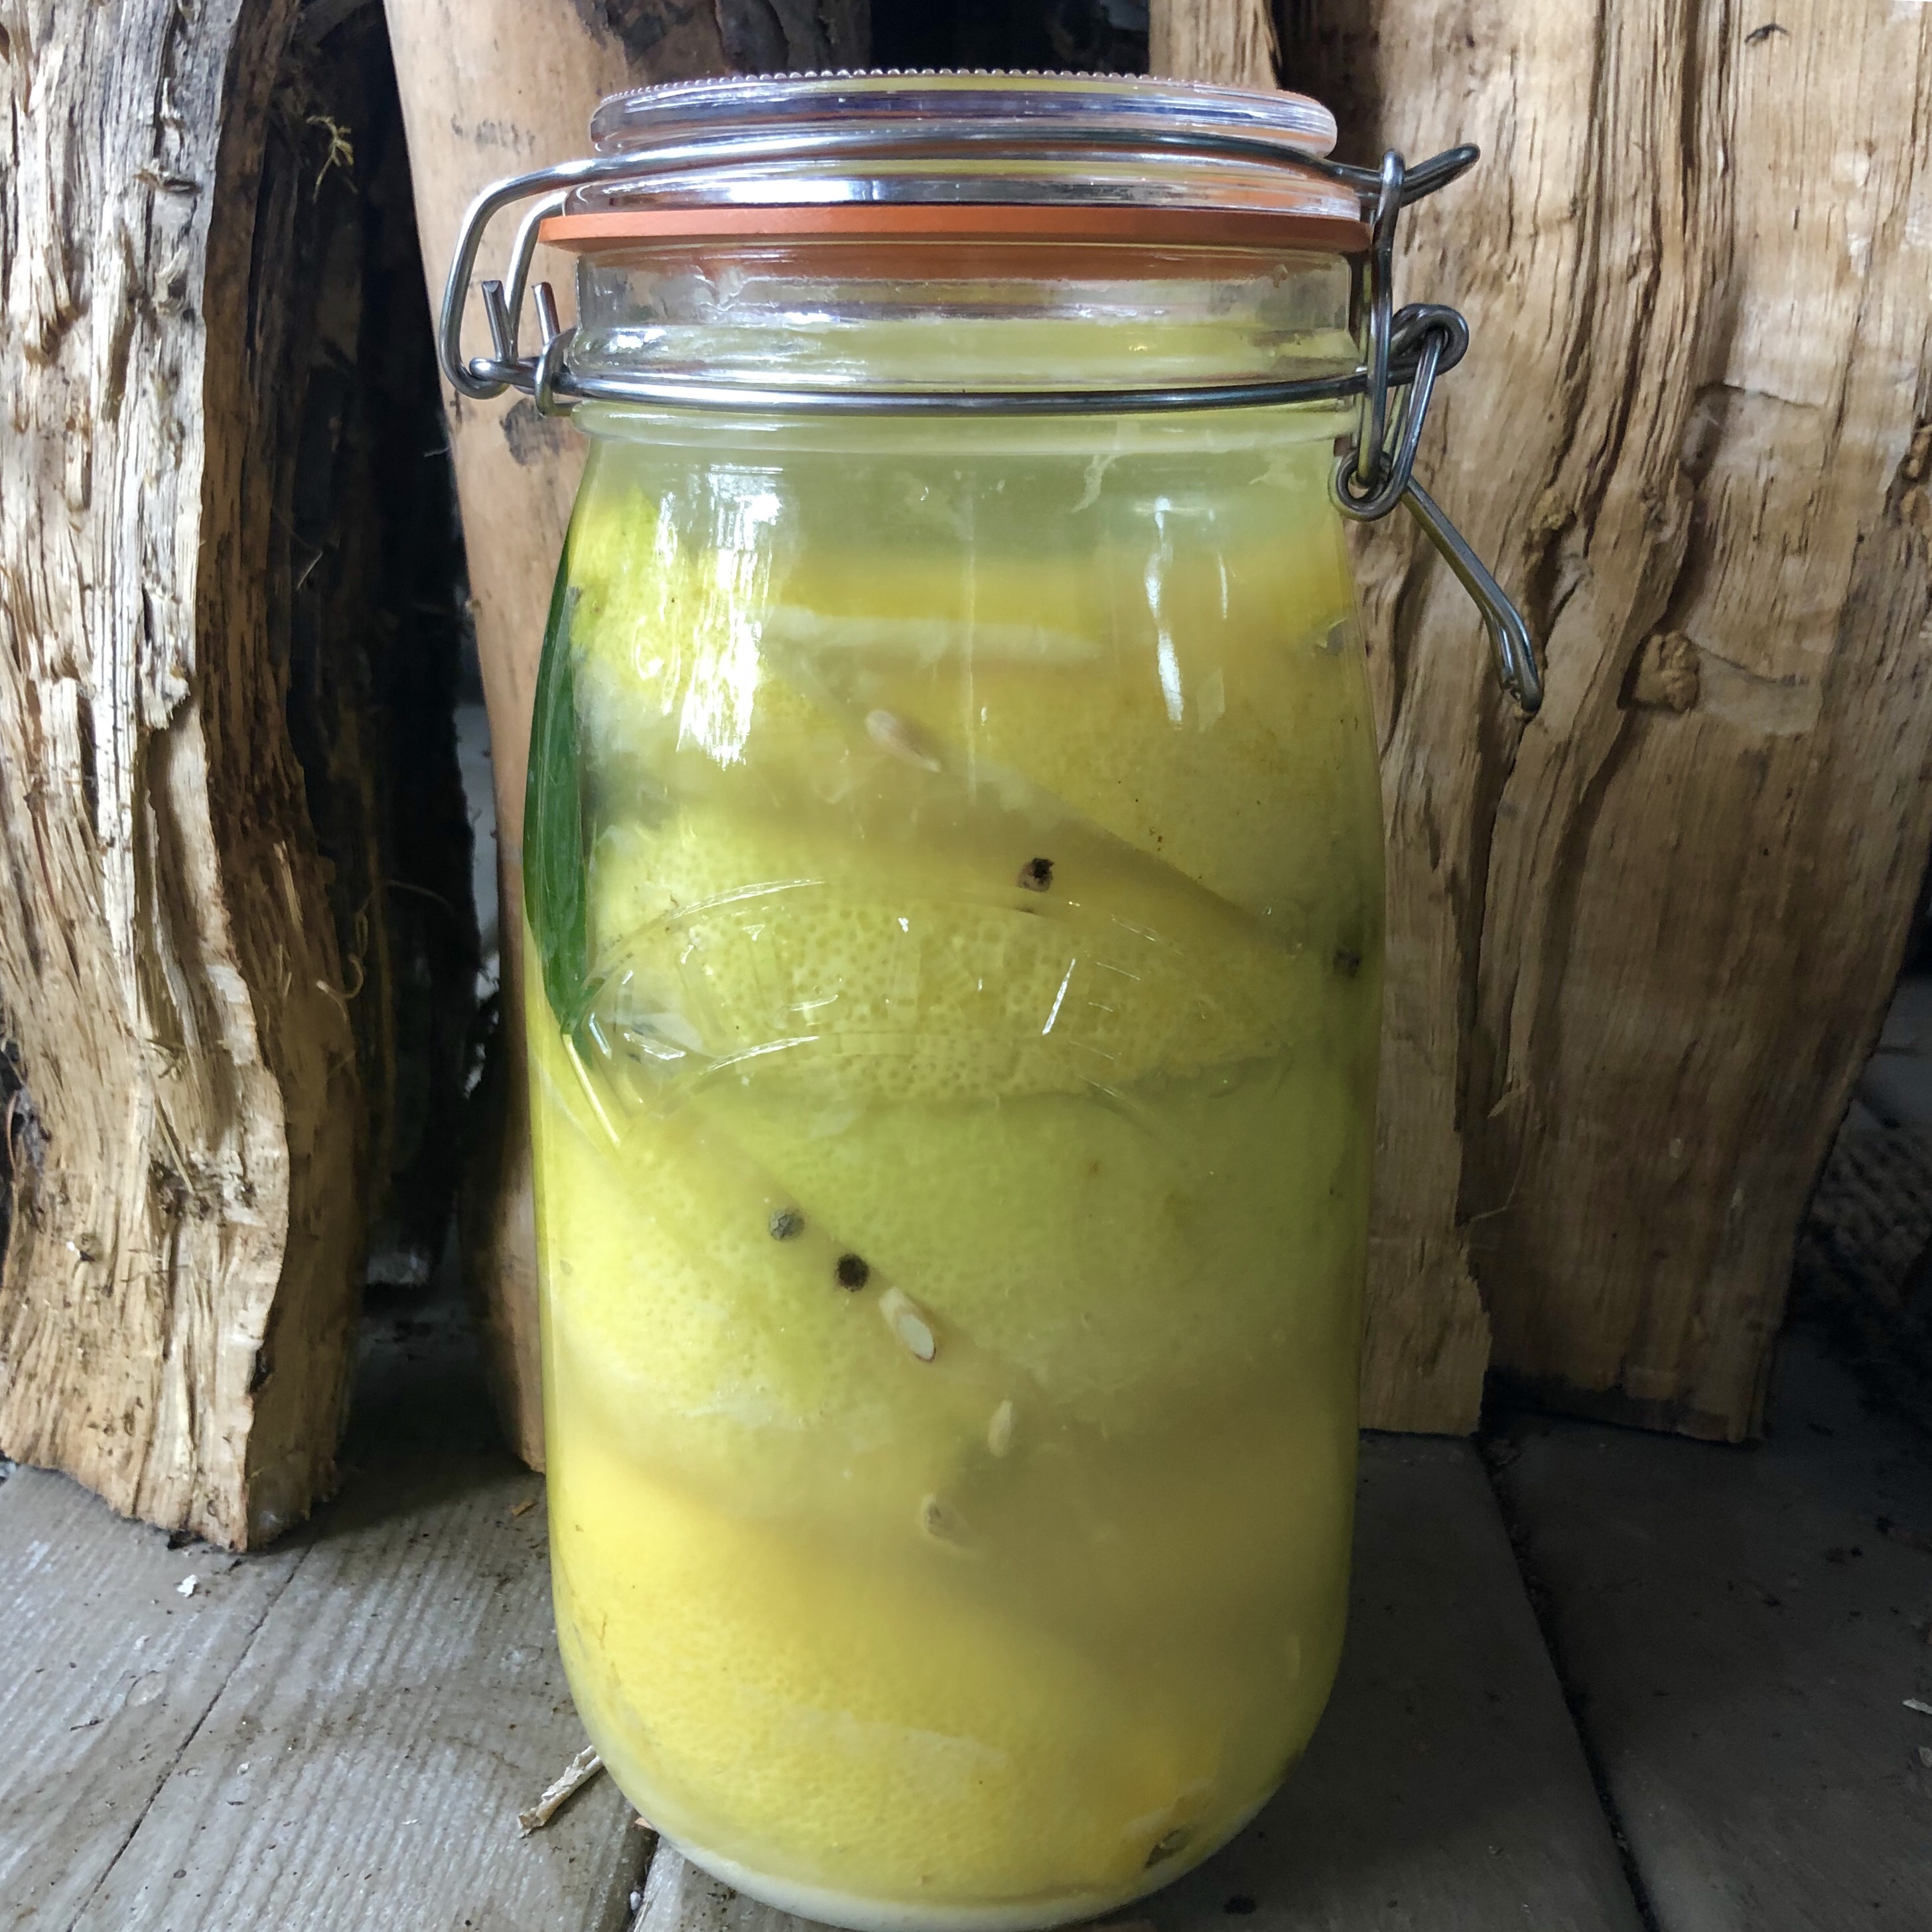
Top Center: ten lemons in square 2L jar, top right and left: 8 lemons in round 1.5L jars, Bottom right and left: 6 lemons in 1L jars. Center jar is preserved limes.

Vanilla Cinnamon Cold Brew Kefir for a Happy Brain (keto, vegan & paleo options)

The school year has begun and I have not quite hit my rhythm yet. Kids and homework, yes. Studying for my Nutrition course and blogging? Not so much. One thing at a time. Right now my youngest is happily attending her first day of preschool for the year and I am enjoying a precious few hours to get some things done!

I have been meaning to post this for quite some time. It is something I make literally every day for my husband and it seems to prevent the migraines that have plagued him ever since I met him. That being said, I must state that this is not medical advice and his migraines are fewer and further between when he is not eating grains and sugar. I would generally say that if you don’t want headaches you should avoid foods that trigger them for you. I know that some people cannot avoid them though, and a lovely beverage with benefits is a nice way of coping.

I slowly acclimated my kids and husband to milk kefir. I drink coconut kefir these days as I can’t do dairy (made the same way just with bpa free coconut milk) but this can go both ways. I have tried it with cultured hemp milk as well and it is also a winner. I can’t really speak for anyone else but when I drink kefir my brain feels alive. And wet. As weird as that sounds. My husband has expressed a similar feeling… as though the moment it hits your stomach and starts to process, your brain just wakes up. As our gut and brain are connected through the gut-brain axis, this now makes scientific sense to us. You can read more about how probiotics boost cognitive function here and more about milk kefir here.

I have slowly built on this smoothie for the sake of my husband’s migraines, and it works on my brain fog as well. The base is kefir and a bit of cold brew (but you can leave that out if you like). I add cinnamon because of it’s brain boosting benefits, it’s tasty, complements the kefir and the two together act as a metabolism booster, and lion’s mane because it is a healing nootropic mushroom. It enhances brain function, has immune boosting properties and is a powerful anti-inflammatory. I have a blend of cinnamon and lion’s mane with my tea stash as well as a matcha with lion’s mane blend. I use it that much and for good reason.

I took a punt that it would be helpful for Steve’s headaches when I started putting it in and it surely helped. I will sometimes add a bit of cream of tartar for potassium and a couple drops of milk of magnesia for magnesium if it is a particularly rough day. For me, I will drink those salts straight after a workout if I am getting foggy so I figured it would help here and it seems to. But again, this is not medical advice. If you don’t have kefir grains to make your own kefir usually someone local will sell some. I sell them here. You can buy kefir at the store as well but it is less powerful than homemade so I would not necessarily recommend cutting the recipe with water as I do below. I put collagen in ours for both general and brain health but if you are a vegan I would recommend mct oil or powder to boost ketones as ketones are a powerful anti-inflammatory as well. I have also found non-psychoactive hemp or cbd oil to be an effective substitute. I will sometimes add a blend of mushrooms including reishi and chaga as well. Give it a shot and let me know what you think!

Ingredients:

  • 1/4 cup organic cold brew (more or less as desired)
  • 1 cup organic milk kefir or bpa free coconut kefir
  • 1/4-1/2 tsp cinnamon
  • 1/2 tsp lion’s mane powder
  • 1 scoop unflavored collagen (leave out if vegan)
  • 1 tsp vanilla essence
  • 1-2 drops stevia or liquid monkfruit
  • 1/2 cup non-chlorinated water (can sub with more coffee or kefir as well)
  • 1/2 tsp cream of tartar (optional)
  • 1-3 drops milk of magnesia (optional)

Method:

  1. In a pint mason jar, add cold brew followed by collagen, cinnamon, lion’s mane, cream of tartar and milk of magnesia (if using), vanilla and stevia/monk.
  2. Seal with a leakproof lid and shake shake shake!
  3. Add your kefir and water, seal and shake it up again.
  4. Drink!
Look at that cinnamon vanilla goodness. Nom.
All shaken up. Beaut.